READ: Panoramic Photography
You could go to the same spot today on the east side of the river and take the photo showing how this area has changed if you understand how to create panoramic images.
All it takes to make a panorama is to take two or more photos of an area/subject and attach them together. Some digital cameras have a setting for panorama assist. This can help you get the correct photos you need to stitch together. If you have this setting on your camera, try it out! See how it works. If not, that is just fine too, you will just need a steady hand and your digital camera.
First, take one picture. Now, just line your second picture up with what is showing on the screen and take another picture. Continue until you have photographed the whole area.
Now all you need to do is use your photo editing software so stitch the pictures together. Notice however that each picture you took actually overlaps the other photos. You want this because it will help with lining up the pictures into one.

If you don't have panorama assist on your camera, don't worry - you just have to to it the old fashion way. It works better if you have a tripod to do this because it keeps the camera in one place so all you need to do is to turn to the next section of your photo and snap another picture. Be sure to overlap the photos as this will help you when you go to past them together.
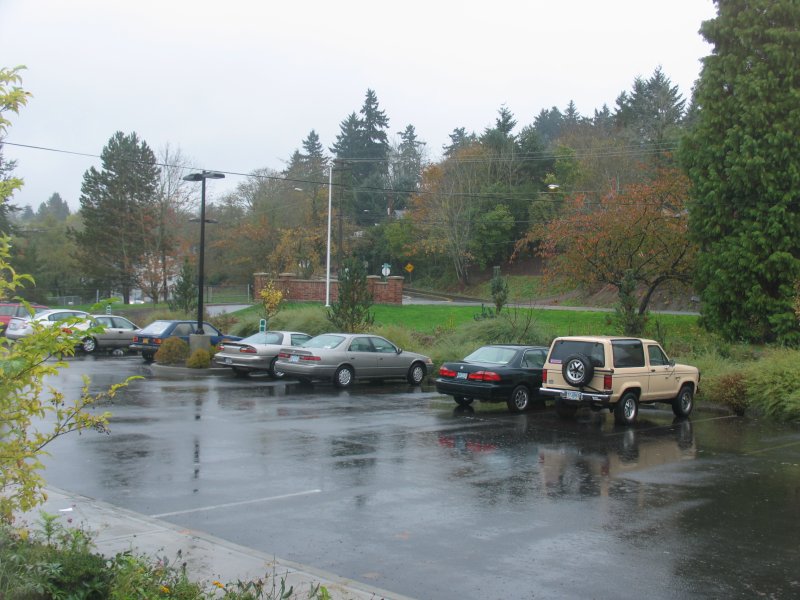
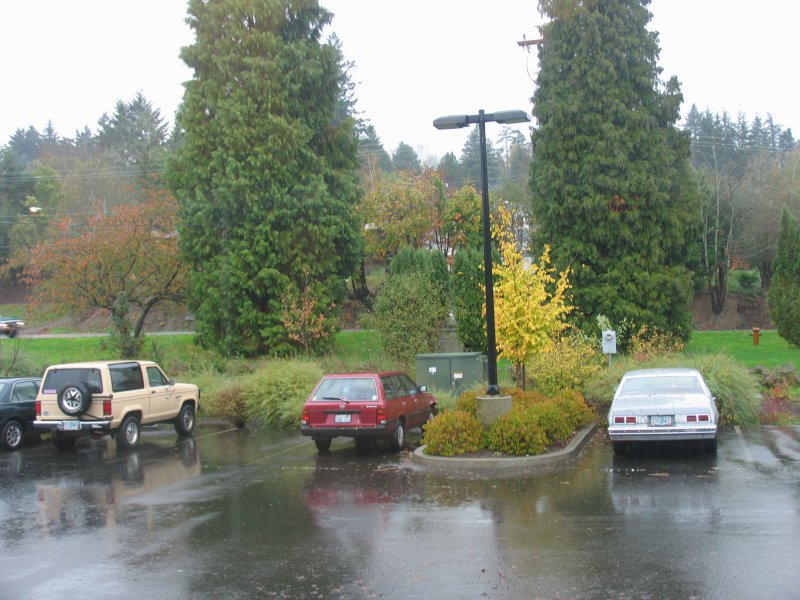
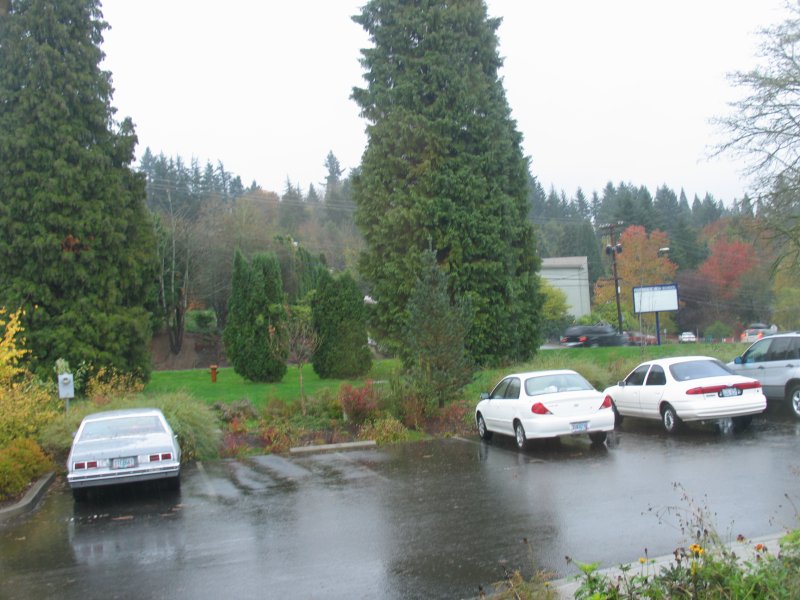
Here are three images you can look at for starters. Notice that these photos overlap a little?


Here are those 3 images once they have been put together using photo editing software. Can you tell where this panorama is stitched together? Try to make yours as seamless as possible.

If your final photo doesn't line up one the sides you can crop out the portions that don't fit. Sometimes zooming in where the photos are stitched together will help you put them in the correct places.
Last modified: Sunday, January 23, 2011, 5:21 PM
