READ: Processing Multiple Exposures
Sometimes you just can’t get the exposure you want. There are film photographers who would want to poke my eyes out for this but there is a neat trick you can use now that we have digital photography and photo editing software. High Dynamic Range (HDR) is a technique used to combine varying exposures of the same scene onto one photo. Read this short article to learn more about HDR: http://en.wikipedia.org/wiki/High_dynamic_range_imaging.
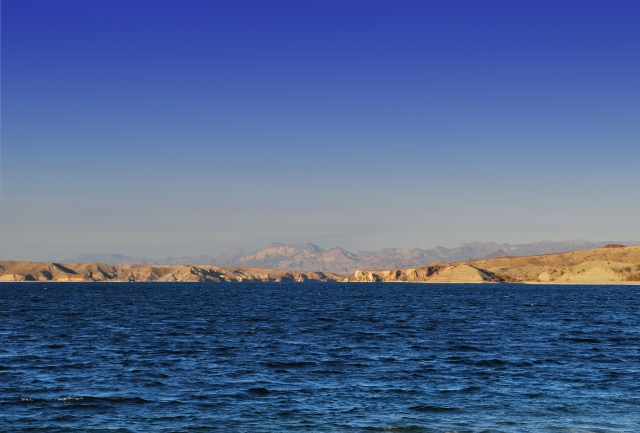
If you like the looks of two or more objects in your scene under different exposures, then you can’t always find a good exposure that brings that out. A trick you can use is to take two or more photos framing the scene the same for both and then merging them into one photo. For example, in the photo above I wanted the water to be a deep blue and the land to be a rich color but when I set the camera to expose for one I lost the other. The trick I used was to combine them.
Here is how to do it:
I took two photos, one exposing the way I wanted for the land and a second exposing for the water. I then dropped them into the same canvas in an image editing program but in different layers. I lined up the photos by setting the top layer slightly transparent so I could see both layers at the same time. This is done by using the opacity setting for the layer.
Once the photos were aligned correctly I change back the opacity setting. Next I deleted the water from the layer that had the correct exposure for the land. (You can also use a layer mask and set the opacity to 30% or so and used the brush tool to merge the water from both photos together.) In this case, I wanted to completely remove the water from one and use the water in the other. I use the layer mask idea on the water around the shore line so the two photos merged together better correctly without showing lines. This kept it from looking like I cut and pasted the water in.
Now my water and land looked good, but I wasn’t happy with the sky. I wanted a deeper blue to the sky so I added another layer and used the gradient tool to add a darker blue to transparent in the sky area. Then I use the layer’s opacity setting to bring the new layer into the picture and make it look the way I wanted.

As you can see, processing multiple exposure in this way can lead to great creativity and photos that otherwise would be impossible. A helpful hint is to use spot or center metering when getting your exposures. Alternatively, you could use manual mode and get the exposure exactly the way you want it.
Last modified: Wednesday, March 23, 2011, 12:47 PM