Uploading photos to your blog
To upload the photos to your blog, go to www.blogger.com and sign in. Click to create a new post. You will see a screen that looks similar to the one below:
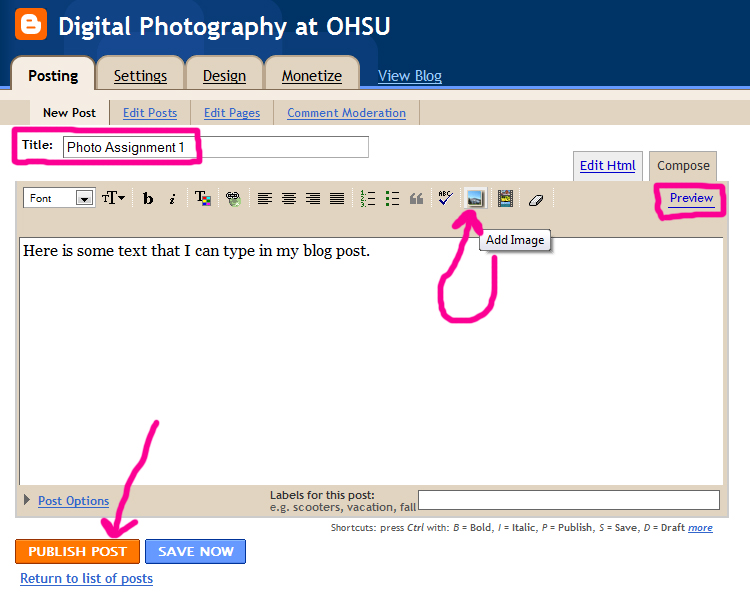
On this screen, you can give your blog post a title, type in text, insert images, preview your blog entry, and publish your post.
To add an image (which you will be doing ALL of the time) - click on the "Add Image" button. The upload an image box will pop up:
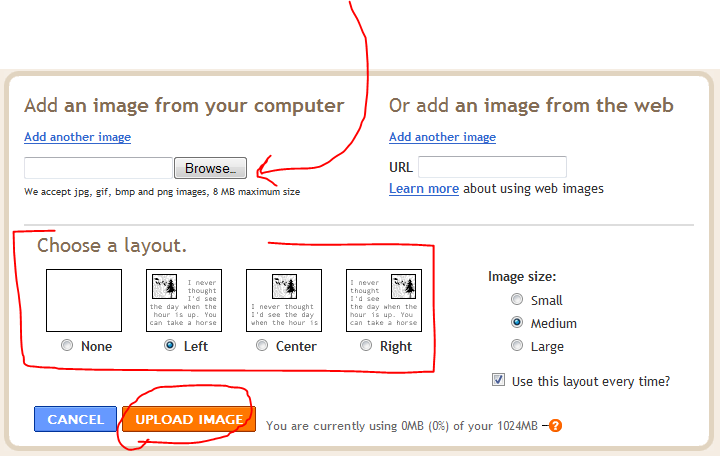
Select "Browse" to locate your photo on your computer (ie - where you saved it.) Choose a layout of how you want your picture to align once the image is uploaded to your blog. Once you are ready, click "Upload Image."
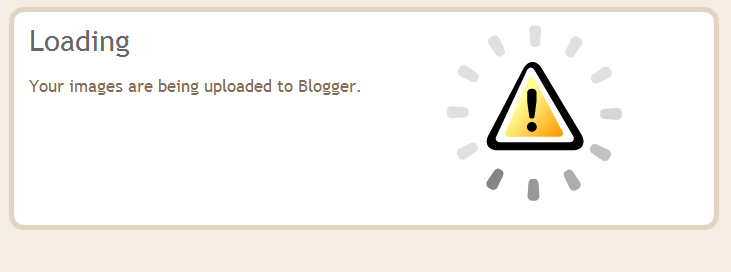
You'll see a loading screen that looks like this while your image is uploading:
Once it is done loading, you can see that your image has been inserted into your blog post according to the alignment that you specified in the upload box.
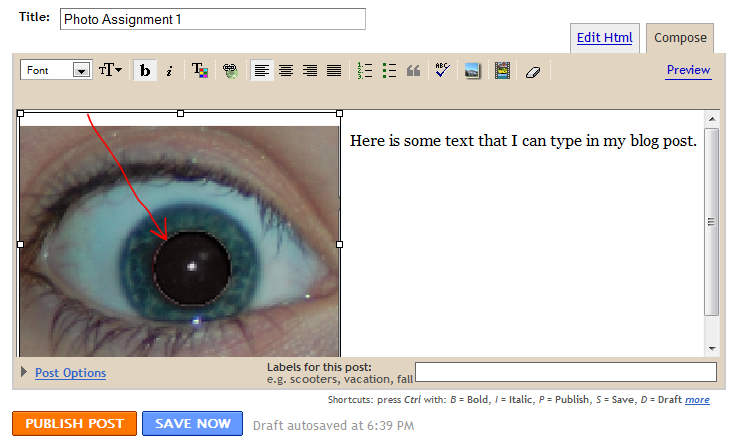
Once you have uploaded all of your images, click to preview your post (if you want to preview it) or publish your post. You're all done!
Last modified: Thursday, July 22, 2010, 12:03 PM