| We're going to create a logo, similar to what you'd see printed on a T-Shirt. We'll use some SVG clipart from OpenClipArt.org and use text paths tool to put text on a circular path. First create a new document and use the "File >> Document properties" menu to make the document 4 in. x 4 in. 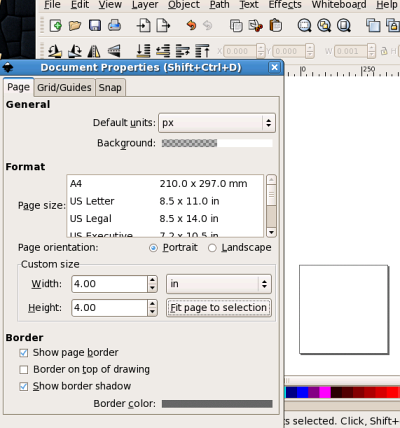 Next we'll use "File >> Import" to bring in some clipart. You an download the file we used in our example from this link: bobi_architetto_francesc_01.svg After importing the image, click on it and scale it so that it is about 150 pixels high. Use the rulers on the side of the screen as a rough guide. 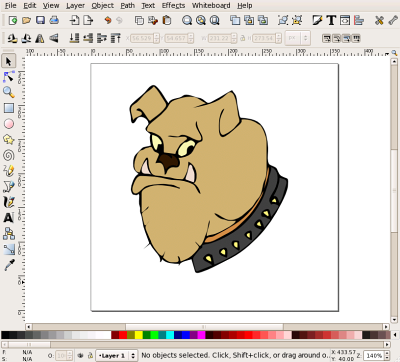 Clicl on "Layer" in the menus and add a layer. Rename it shape. We'll use this as a path for the text. 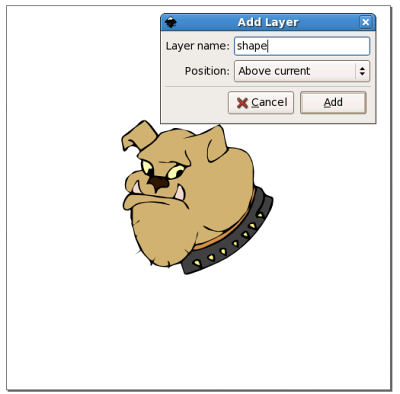 Next select the shape layer in the layers list on the bottom of the window. Use the circle tool and create a circle that almost fills the image. Use the <ctl> key while changing the size to keep it a perfect circle. "Right click" and select "Fill and stroke" to ge the fill dialog box. 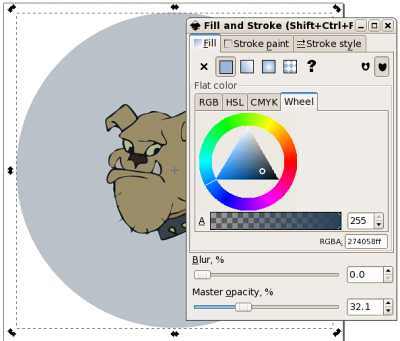 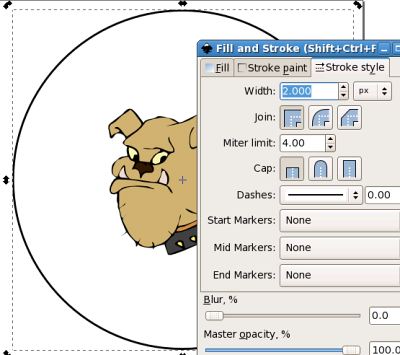 Use the "A" text tool and enter some text for your logo. Use the "T" text tool in the top menu to change color, size and font. 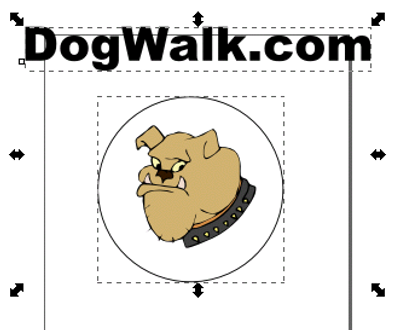 Now click on the text with the arrow tool and shift-click on the circle edge. Both should be selected. From the "Text" menu on the top menu bar, select "Put on path." The text is now attached to the circle. Move or rotate the circle (click once or once again to switch) and the text moves too. Rotate the circle so that the text is even. You can turn on the grid from "View >> Grid" or use a guide (blue line, just click on the ruler above the image and drag down a guide) to be sure the words are even. Rotate the circle to adjust if needed.  Now we can select the circle and "Right click" to edit the "fill and stroke" properties. Set the opacity to 0% and the circle will disappear. Add one more layer with a brightly colored circle and move it to the back to set things off nicely and you're done!  Here's a link to the SVG file used for this lesson. |
Last modified: Thursday, February 21, 2008, 3:08 PM