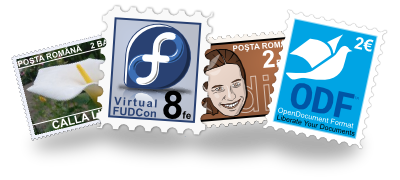
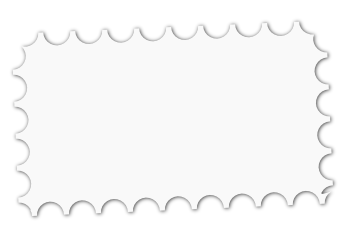
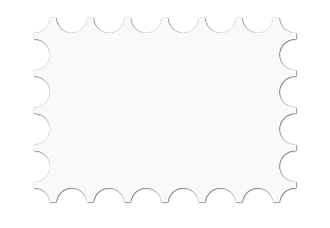
In this easy tutorial we will learn to create postage stamps using Inkscape, the results will look like this:
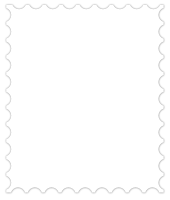
Perforated paper Stamps look like tiny pictures on paper with a white perforated paper. This is the most important thing for a stamp and the core of this tutorial:
I will present three ways to create the perforations, use what you like best.
Pattern along Path
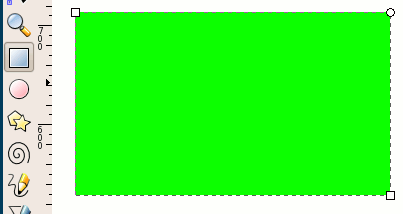
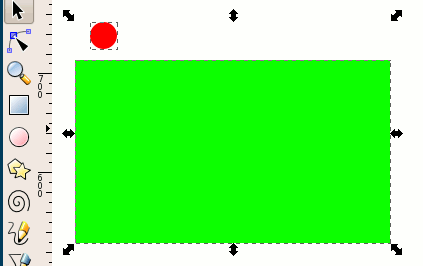
- Using the Rectangle Tool draw a rectangle:
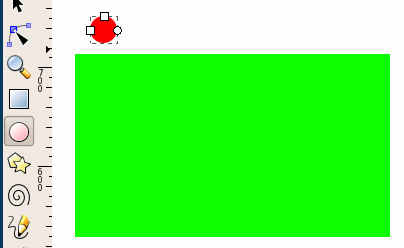
- And with the Ellipse Tool a circle (keep the Ctrl key pressed to get a circle):
- Select the circle and then the rectangle:
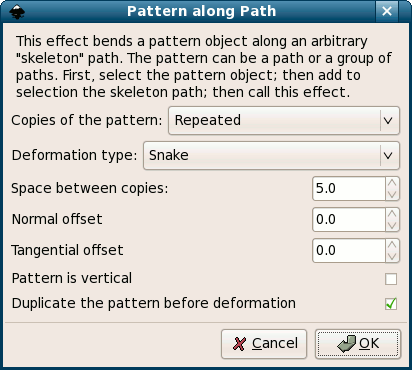
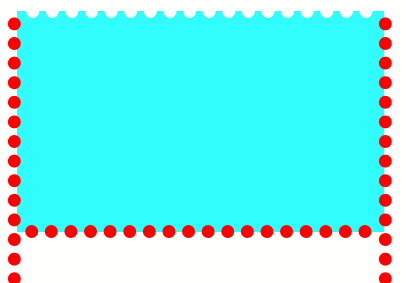
- And put the circle on the path defined by the rectangle (Effects > Generate from Path > Pattern along Path). Ensure copies are Repeated, the deformation type is Snake and adjust the space to fit the size of your circle:
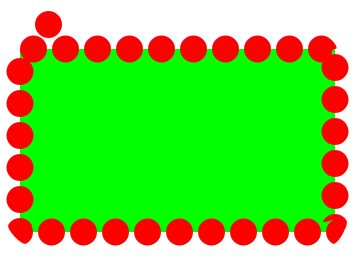
- You will get a contour made from circles for your rectangle:
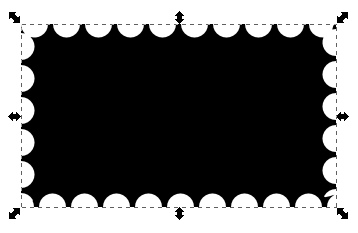
- Select the contour and substract it (Path > Difference) from the rectangle:
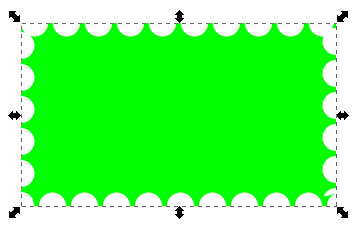
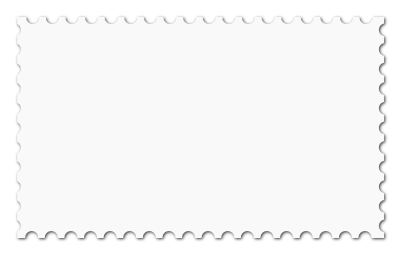
- This is the perforated paper:

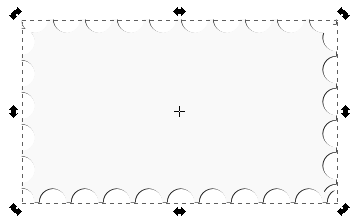
- Change its color in something paper-like, white or something near white (a very light yellow for old paper):
- For a shadow which will make the paper more visible duplicate the shape and make the copy black:
- Put it at the bottom of the stack and move a little to the right and down:
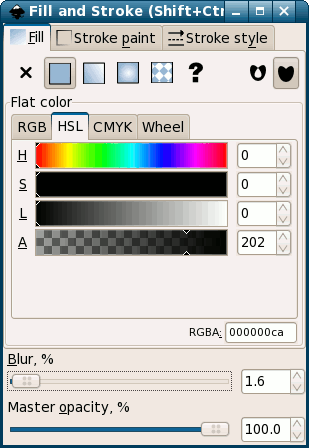
- Slightly blur the shadow and if you want adjust its transparency:
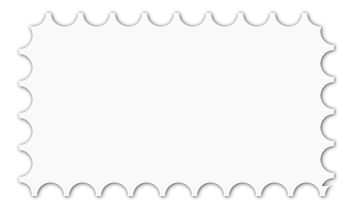
- Optionally, for increased realism rotate it a little:
Tiled Clones
- With the Ellipse Tool create a circle:
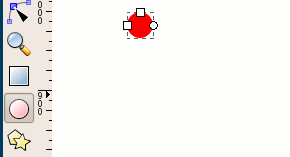
- Create tiled clones (Edit > Clone > Create Tiled Clones). Leave the symmetry as simple translation and change the Shift X Per column and Shift Y Per row to something to fit the size of your circle (here I used 20%). Set the number of rows and columns (here 6x8) to get the desired size of the stamp:

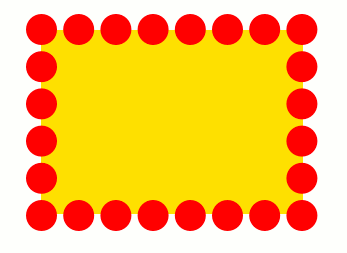
- The result is a grid like this:

- Select and delete the inner circles and leave only a border like this. Select all and unlink the clones (Edit > Clone > Unlink Clone). Select all and make an union (Path > Union).

- Draw a rectangle at the desired size and put it under the border made from circles:
- Substract (Path > Difference) the border from the rectangle:
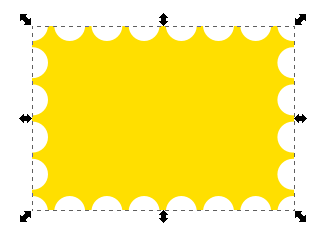
- Change its color and add a shadow:
Align and Distribute
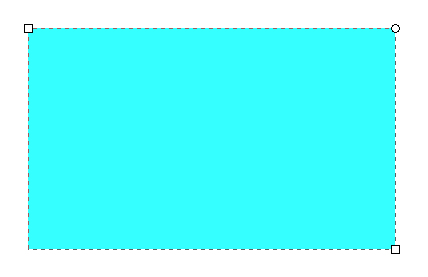
- Create a Rectangle:
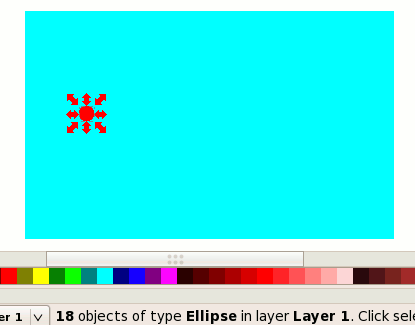
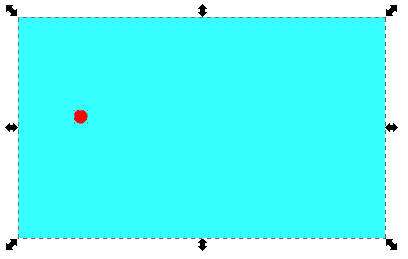
- And a circle:

- Select the circle and create a lot of duplicates (Edit > Duplicate). The number depend on the circle size and rectangle width (here I made 18 circles):
- Select all the circles and the rectangle:
- And use the Align and Distribute dialog (Object > Align and Distribute):
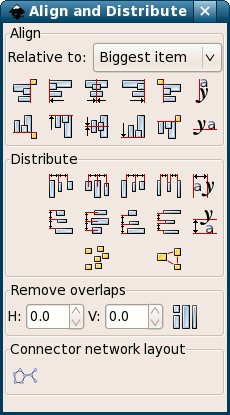
- Align the circles (relative to biggest item, which is the rectangle) evenly by horizontal:
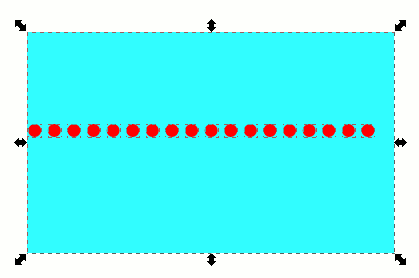
- Select the circles, perform an union (Path > Union) and move the result at the top edge of the rectangle:

- Duplicate and move the copy to the bottom edge:
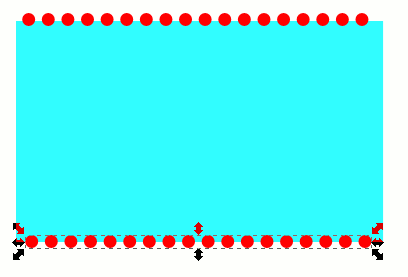
- Make two more copies, rotate them by 90 degrees and move them to the left and right edges. Adjust their position as needed:
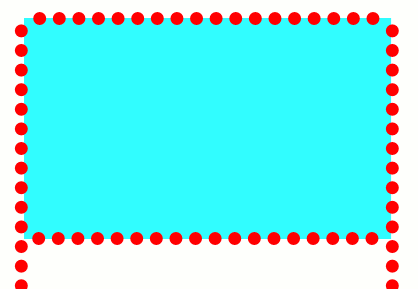
- Substract the lines of circles from the rectangle (Path > Difference) one by one:
- And get the perforated paper:

- Change the color and add a shadow:
The postage stamp Now for the easy part:
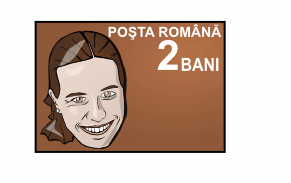
- Import or make on the spot whatever image or drawing you want to put on the stamp:

- Make sure it is in a rectangle:

- Add the issuer name (here I used "Posta Romana" - "the Romanian Post") and the denomination (I used "2 bani", the moral equivalent in the Romanian language to the English "two cents"):
- My stamp image was too simple so I added more texture to the background:

- Draw the paper, a rectangle, and put it under the image:
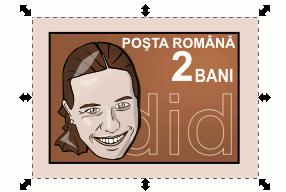
- Using one of the ways described above transform the rectangle in perforated paper and you are done:

Done Use any kind of perforations, larger, smaller, round or elliptic, any kind of image, even photos, put the stamp on vertical or horizontal, the possibilities are endless: 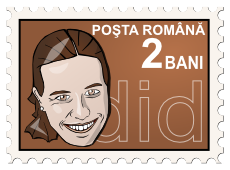  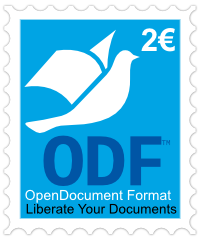 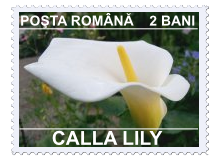
|
CC License:
http://howto.nicubunu.ro/inkscape_postage_stamps/Last modified: Thursday, February 21, 2008, 3:44 PM