We'll start with a simple image of a soccer ball on green grass. Download the image called logo1.jpg The first thing we'll do is crop the image. Use the "knife" icon in the main GIMP window and drag from one corner to the other. You can resize by clicking and dragging on the corners. You can also move the selection around by clicking on the opposite corners. Since we're making a logo for use on the top of a web site or letterhead, we'll crop the image and get of the top and bottom. 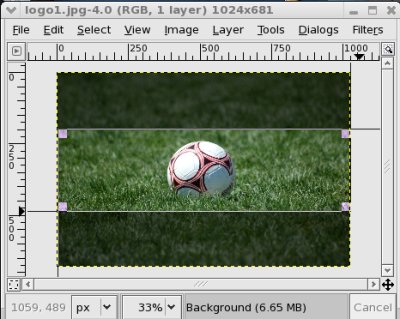 Next we'll resize the canvas so that it is about 2000 pixels wide. "Right click >> Image >> Canvas size." "Disconnect" the chain that binds width and height. Then you can change the width while the height will stay the same. 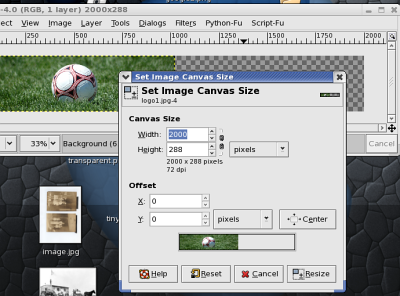 You'll see that the grass does not fill the canvas size. We'll have the use the layers tool to do that. Just "Right click >> Layer >> Layer to image size."  Next we'll need to fill in the right side of the image. Since we have a bunch of grass, this will be an easy cut and paste job. Use the rectangular selection tool and grab some grass. Use <ctl-c> to copy the selected region. Use <ctl-v> to paste it and then drag the new grass over the empty space using the move tool.   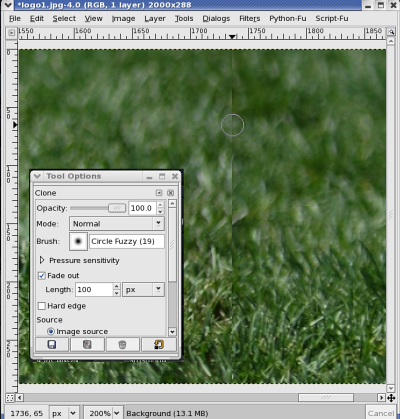 Select a fuzzy brush, then <ctl> click on a spot just to the left of one of the lines. Lift up the <ctl> key and then you an paint with the brush. The brush will use the image area under the crosshairs. Any source area may be used by simply <ctl> clicking to select the source, then painting. With some practice, you'll be good at clearning up any lines and no one will be able to tell you've been cloning. Now it's time to add text using the "T" text tool. We'll use a bold font like Arial Black. Increase the font size so that it's nice and large. 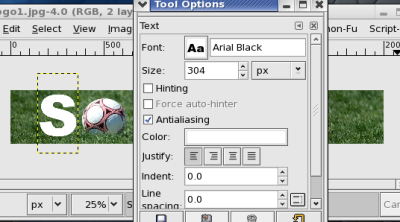 You'll make the "s" first and then repeate for "ccer." Use <ctl-l> to open the layers tool box and you'll see three layers, one for the grass and two more for the two text areas. 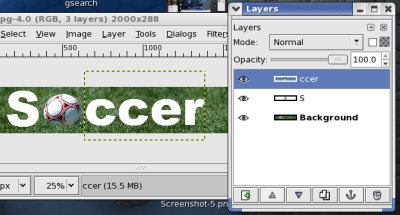 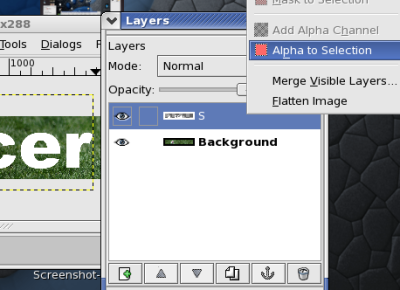 You'll end up with all the text on one layer. Now select the text layer and "Right click >> Alpha to Selection" to select the text. 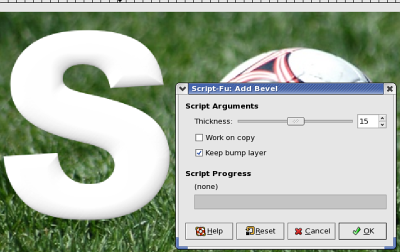 Now repeat the procedure above and add ".com" and use a bright color to finish up the logo.  |
Last modified: Wednesday, February 20, 2008, 9:30 PM